How to stencil a wall with feather stencil or mandala stencils
Stenciling with a foam roller is the easiest and fastest stenciling technique. All the stenciling process is the same for Mandala stencils, Allover pattern stencils, feather stencils, and any other stenciling project. But you need to keep in mind a few essential things to make your stenciling project perfect!
Here is the list of tools that you'll need for stenciling:
1. Stencil
2. Spray adhesive
3. Paint Roller
4. Masking tape
5. Paint pan
6. Paint
7. Towel or paper towel
| 1) Take out the stencil from the tube and remove the packaging paper. | 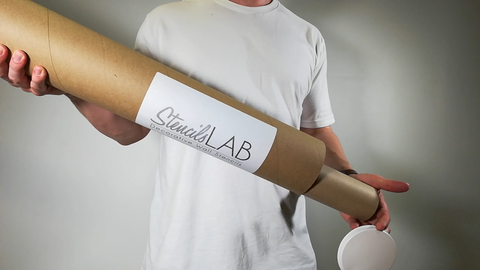 |
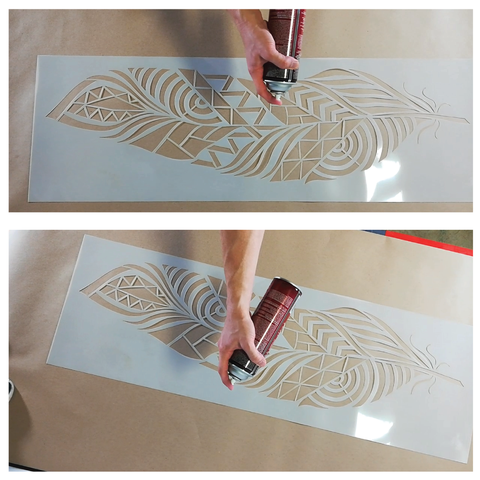
| 2) If you want to achieve the crisp lines, I highly recommend using spray adhesive. Lay the stencil face down and spray the adhesive on the back of your stencil with an even coat. |
 |
| 3) Let the adhesive coat to dry for a few seconds and place the stencil on a wall or another surface you’re painting. | 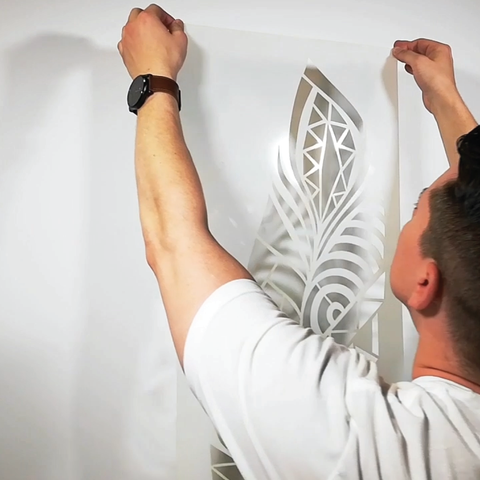 |
| 4) Take your clean and dry roller | 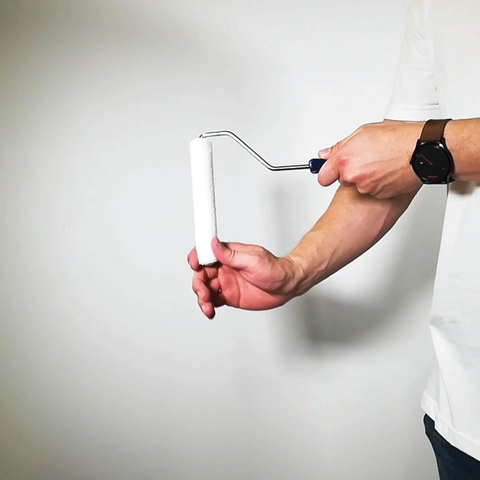 |
| 5) Gently run a dry & clean roller over the surface of the stencil to flatten and stick all the details. | 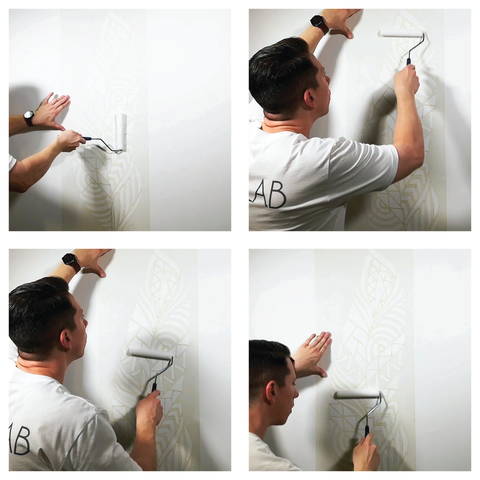 |
| 6) Additionally, secure your stencil with a masking tape. | 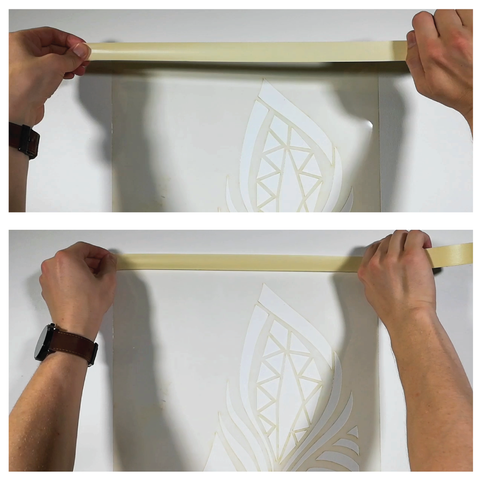 |
|
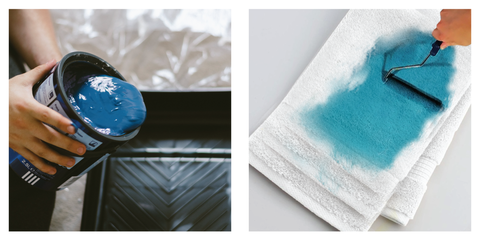
7) Pour a small amount of paint on a paint pan. Dip the roller or a brush into paint and remember rule #1- stenciling is a "dry" brush technique. The most common mistake is overloading your brush. Always blot off excess paint onto a paper towel (or whatever towel you have). The brush/sponge is properly loaded when there is a uniform (almost powdery) looking imprint on the plate. There should be nothing wet or sloppy. |
 |
|
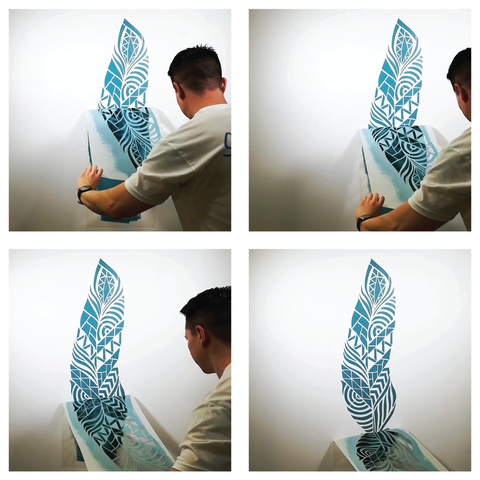
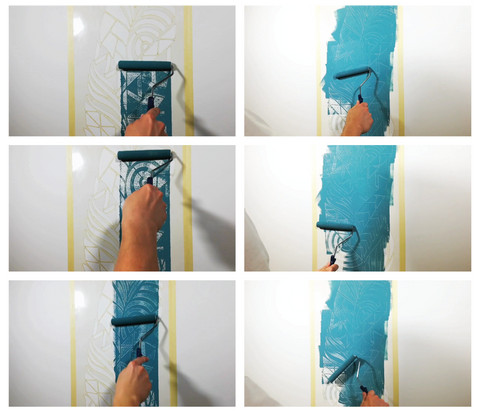
8) Start rolling over the stencil with your loaded roller. Apply light to medium pressure, do not press on a roller too hard to prevent paint bleed underneath the stencil. You’ll get the feel for just perfect pressure in the process, and your result will be great. It is far better to stencil a few layers gradually, instead of one thick paint application. |
 |
| 9) Take the upper corners of a stencil and gently remove the stencil from the wall (or any another surface). |
|
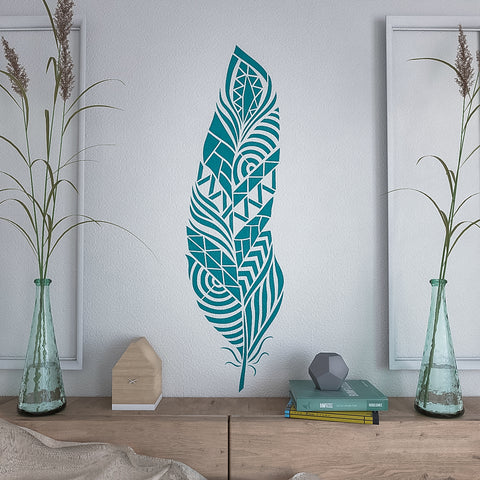
ENJOY THE RESULT!


