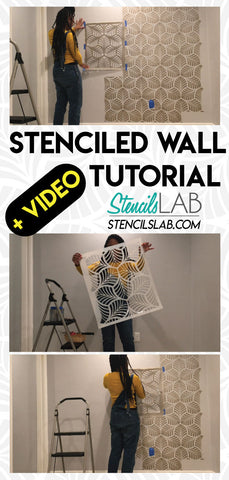
The Best Stenciled Wall by Khadijah Pearce

The easiest DIY project ever! This took me about four hours to do.
Here are the steps I took!
Preparation!
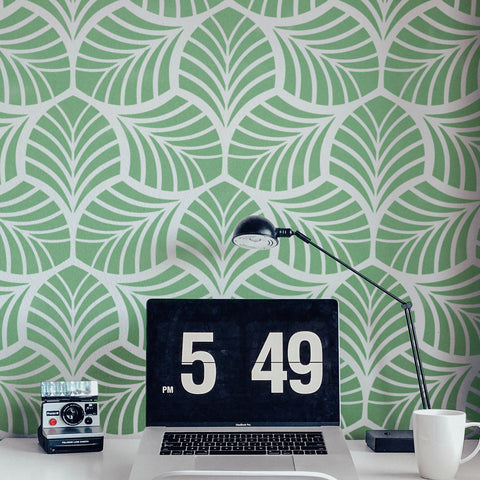
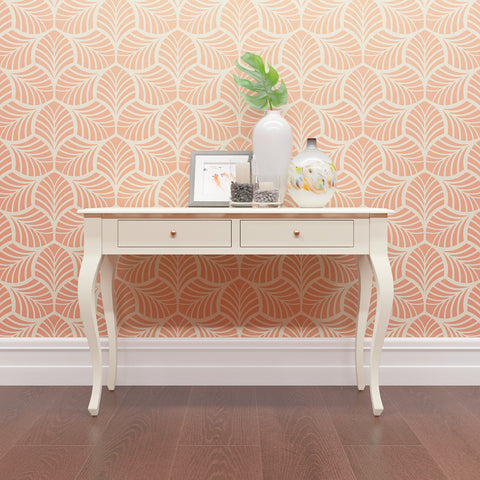
1. Purchased my stencil from StencilsLAB- TROPIC Wall Stencil I bought the medium sized stencil.
2. Visited my local HomeDepot to buy 1 quart of paint (PPG Metallic Tones- Metallic Memories Tint), 4" roller brush, blue painters tape, and small paint pan.
3. Covered the workspace with a plastic drop sheet to avoid paint splatters on the carpet.
4. Unboxed stencil and placed books on top for about 45 minutes to flatten it out.
Let's start the stenciling process!
1. I started at the very top right-hand corner of my wall. The wall was slightly crooked, so I wanted to make sure the first row down was straight.
2. Use painters tape to keep the stencil in place when positioning.
3. Overlap the stencil corners to the previously painted section. Throughout the video, you will see me strategically placing the stencil over the previously painted section to ensure proper design flow!
4. DO NOT, DO NOT over saturate your roller with paint! It will cause bleed through if you do and your design will come out flawed. Use very little paint on your roller. Some people also use the brush method.
5. FYI- Corners can be tricky. Just position stencil over the previously painted section, secure with painters tape and paint until you reach the desired edge or corner end. 6. Repeat steps 2-5 until you finish the entire wall.


